Prototype Construction
Workshop 1
During the first Workshop, the team focused on building the main structure of the prototype, leaving the detailing for the second Workshop.
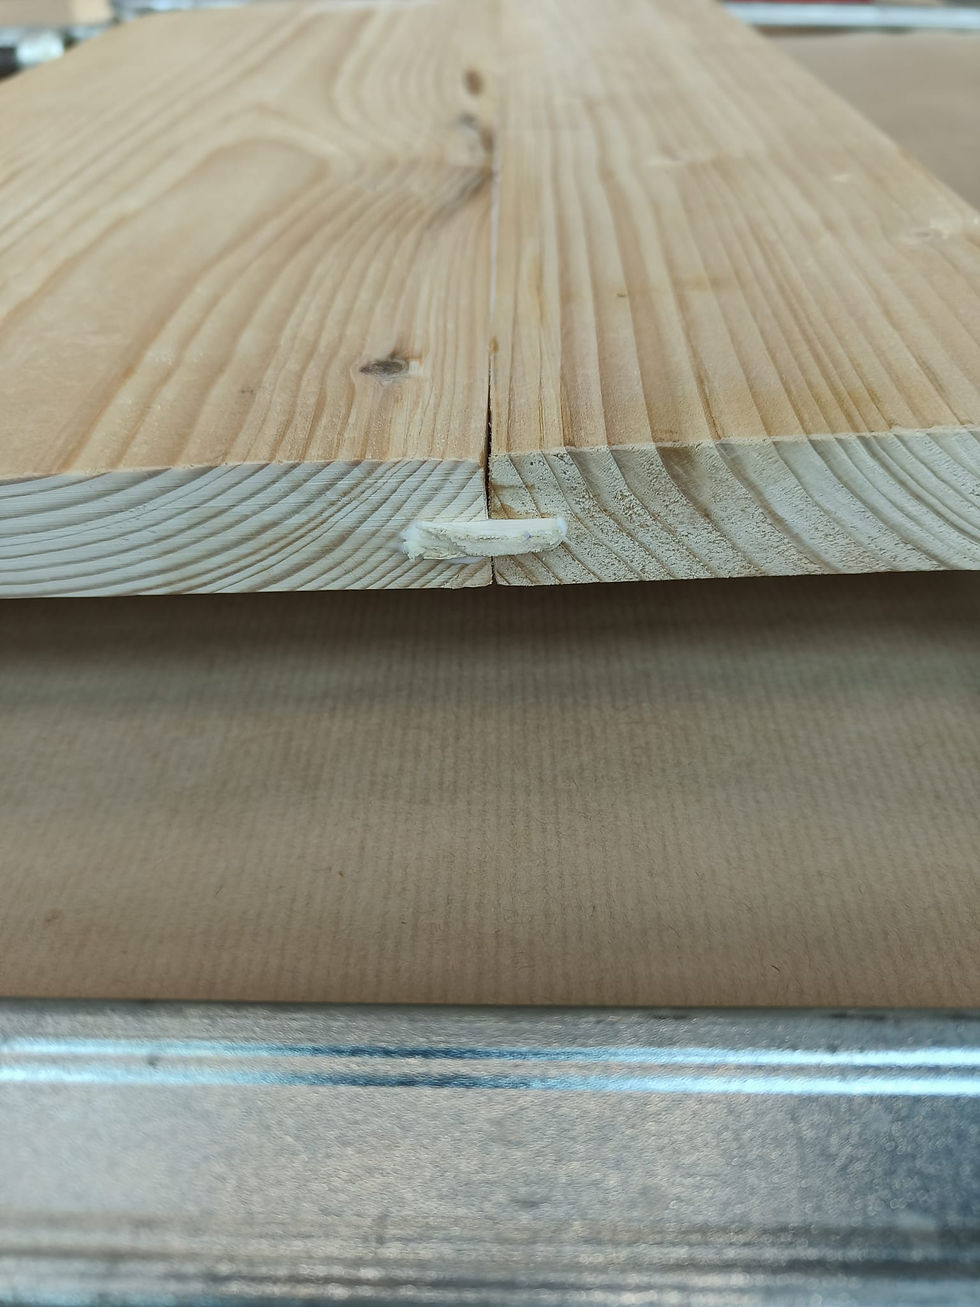
The workshop started by cutting and connecting the 9 planks of 20cm and 10cm wide to make 3 planks of 30cm wide for the sides and the bottom and two planks of 15cm and 25cm for the steps. At first, the planks for the steps were cut into required shapes. Then, the team started connecting all the planks. This was done by milling 4mm slits on one side of each plank so they can be connected via connection pieces which would create a force fit. These pieces were cut from 4mm plywood. To make the connection even stronger, the team used wood glue. Afterwards, all joined pieces were clamped together for 30 minutes to ensure the glue dries completely.
During these 30 minutes, the team laser cut the side panels for the prototype and started painting them. After the glue dried, all parts were thoroughly sanded to avoid any possible splinters. Following the sanding, the pieces had their edges milled to create 1cm radius fillets and remove any sharp edges. Furthermore, the sides were cut into the according shapes, including the curves and the indents for the hands.
After all the parts were finalized, it was time for the assembly. The team decided to connect all the parts using screws and glue for even more strength. At first, the holes for the screws were drilled using 90 degree clamps, which would hold two planks at a right angle for the drill to be able to go through both planks at once. After the holes were drilled, the glue was put into the holes and the screws were screwed in using the drill, again by using the 90 degree clamps to make the process much easier and faster. Subsequently, the team left the structure for the glue to dry.
Before the end of the workshop, the team used the time that was left to finish painting the side panels and cut leather strips to use for handles.


Workshop 2
During the second Workshop, it was time for detailing and attaching all the components to the structure.
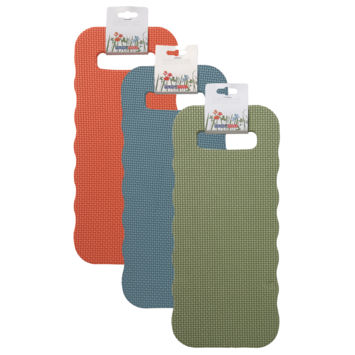
The workshop started by cutting the components into their required shapes. The rubber strip taken from the workshop was cut into 4 pieces, which would later be glued along the perimeter of the top side. These 4 pieces were then painted. Following this, the foam knee pads were cut into several pieces so they could later be put together and glued to the top of the U. Furthermore, the long curved parts of the sidepanels were painted gold.
While some members were busy with the above mentioned steps, the other members of the team were focused on making 4 blocks of wood, which would later serve as the attachment for wheels to the main structure. The 4 blocks were cut according to the size of the wheel panels, which were 6,75cm by 9.5cm. Then, the blocks were sanded and screwed to the main structure. This was done by glueing the blocks to the structure, so they are kept in place during drilling. After the holes were drilled, the blocks were screwed in place. Following that, the wheels were screwed to the bottom of the blocks.
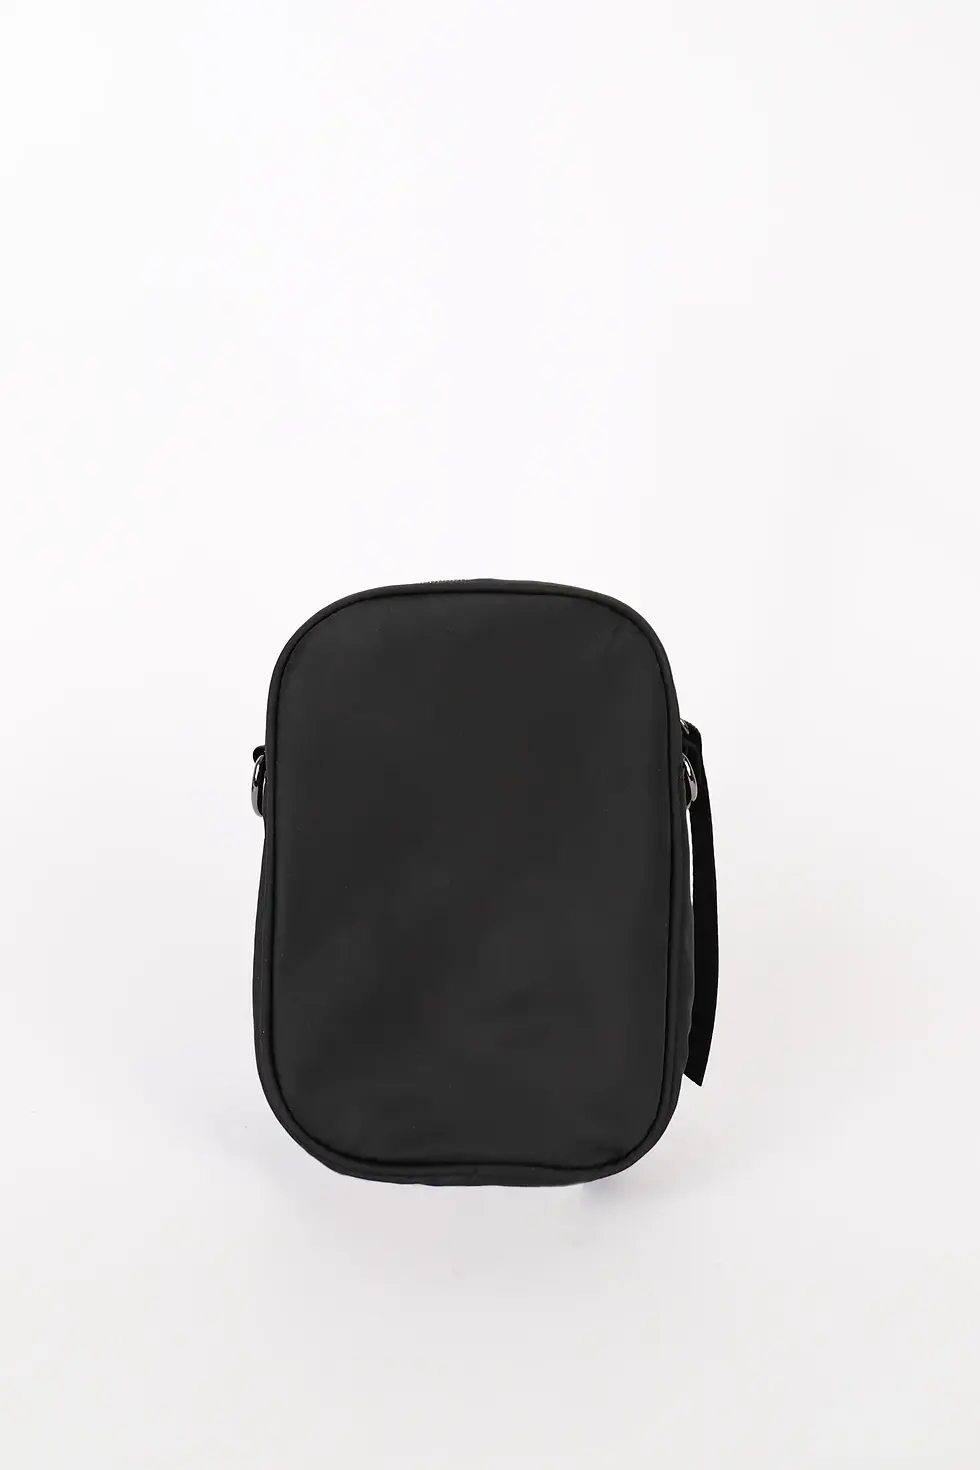
After the wheels were attached, all the challenging steps were finished and it was time to attach all the prepared components to the structure. Firstly, the rubber strips were hotglued to the sides of the top plank. Then, all the foam pieces were put together and hotglued to the top. Then, the sidepanels from the first workshop and the long curved pieces were glued to the sides of the structure using wood glue. Finally, a small bag was attached by using a small plywood plate that was put on the inside of the bag and screwed to the side of the prototype.


Tools used:
-
Measuring tools: Ruler, Right Angle, Caliper, Pencil
-
Fastening tools: Large Clamps, Right Angle Clamps, Drill, Hammer
-
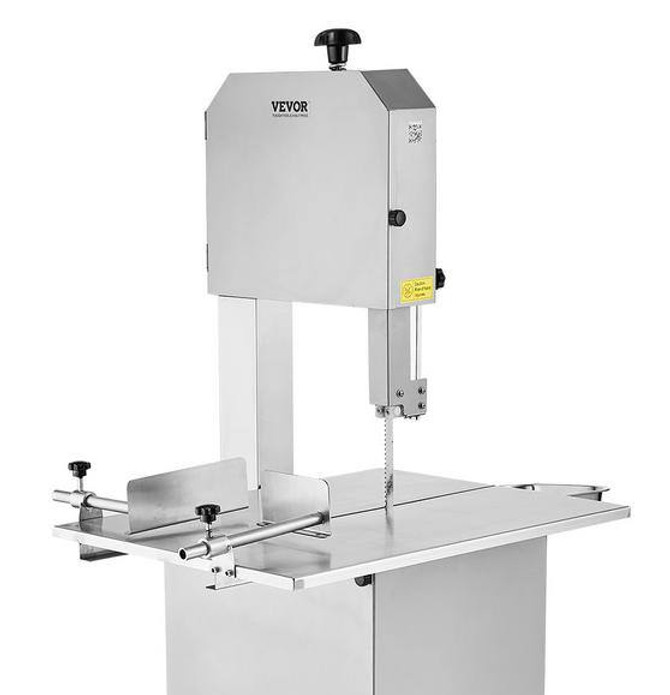
Cutting tools: Electric Saw, Mill, Laser Cutter
-
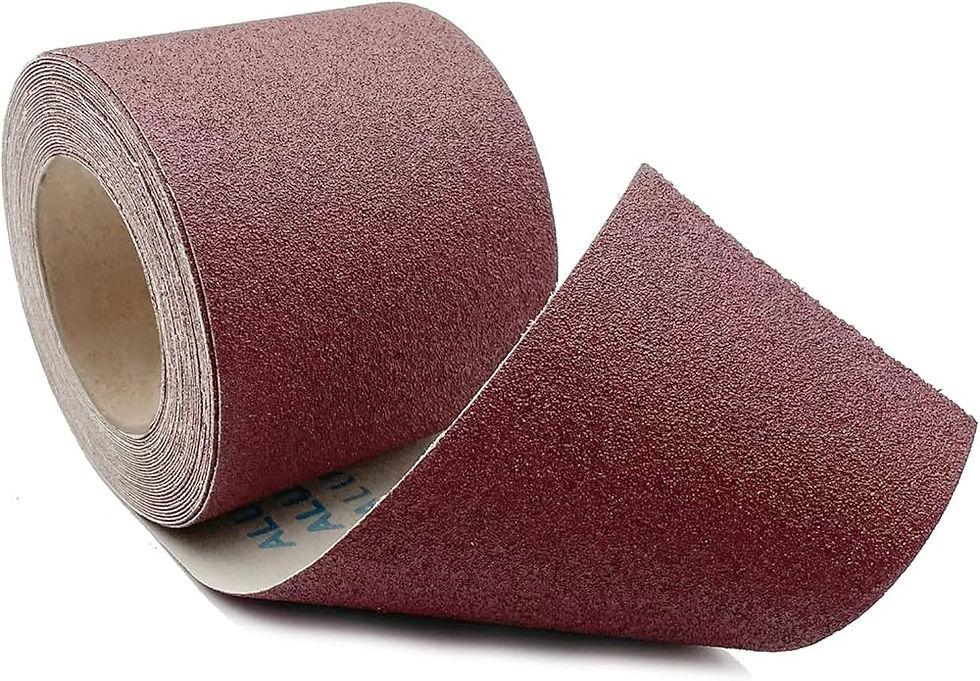
Shaping tools: Sandpaper, Sandsponges, Electric Sander, Belt Sander
Processes used:
-
Cutting and Milling
-
Wood joining
-
Sanding
-
Drilling
-
Assembly and Fastening
-
Lasercutting
-
Finishing


Material Selection

The best choice for the material that would be used seems to be the third option, which is going for a complete wooden design and foam padding. The reason for that is because the participant clearly stated that she would want for the product to fit in with her house style. Even though it isn’t as light as the first option, the product will still fall under 9kg if built precisely. Moreover, it might not be as strong as the steel option, however it is still completely strong enough to withstand a human weight on itself. Furthermore, going for a complete wooden design will allow for design patterns being added onto the frame, making the product more visually appealing and fitting to the participant’s style collage.
Main structural materials:
-
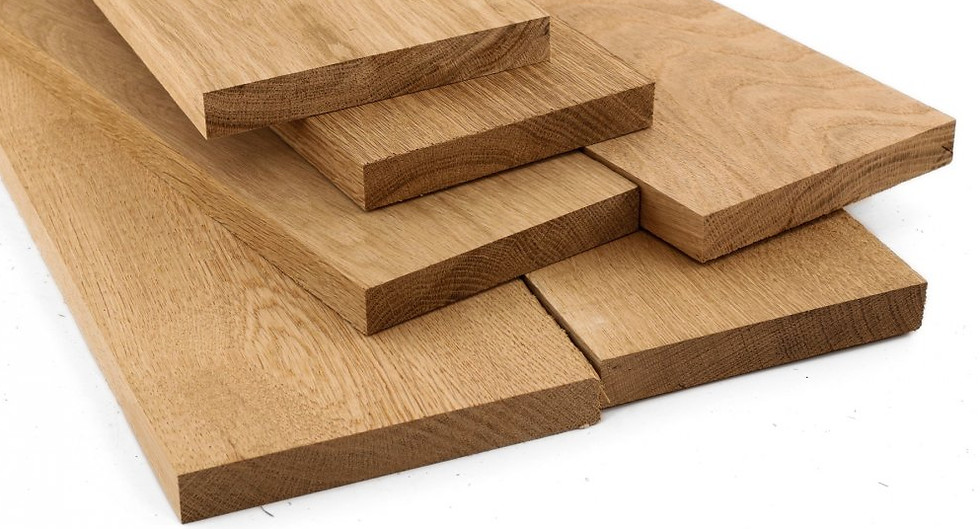
Spruce planks - taken from one of the group members
-
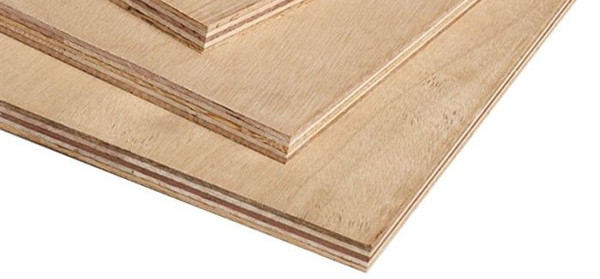
Plywood - taken from the workshop
Fasteners and connectors:
-
Screws (x12) - taken from the workshop
-
Wood glue - taken from the workshop
Additional components:
-
75mm wheels (x4) - bought from Action
-
Knee mats (x2) - bought from Karwei
-
Rubber strip - taken from the workshop
-
Paint - taken from the workshop
-
Small bag - bought from Action


Prototyping
It is now time to define the final version of the product and get it ready for the workshop. A final drawing has to be made to get a clear view of the appearence, and tests will have to be conducted to make sure the product will be safe and comfortable to use.
Technical Drawings


Rough Prototyping

To get a good feeling for the product, a rough prototype was made using scrap wood. It revealed that the product should be around 30 cm deep to ensure that the bottom plank was comfortable to turn around on. It also showed that a handle in the middle of the product was not needed, as the top was being held to pull and push.
It also showed that the idea would work, and after asking Linda for her opinion, it was descided that the concept will work and that it seemed likely that she could use this to get up from the ground.
The prototype was still missing the wheels, and it also became clear that a rubber bumper was needed around the edges to prevent the product from damaging the floors while it is being turned upside down.
To see the prototype in use, point towards the video.
Final Drawing
The final drawing of the U, After talking to Linda it was also decided to place a foam seating pad on top to prevent her from using the product as a table. If she were to set a cup of coffee on it and fall, it would prevent her from using it to get up. The seating will be made out of foam so that it is both durable enough to be on the ground, and comfortable enough to sit on. The indents on the top provide the user with a place to keep their hands while using the product. The swirl on the first step shows the user that a turning motion has to be made in order to get on the step correctly. On the side of the product a bag can be found in which the user can store any products they might need during the day. It can also hold their phone, which means they have it within reach when they fall, so it is easy to call for help in case they got hurt. On the back of the first step there is a hook, this can hold the users basket so it can be taken along with them around the house. During the Co-design, Linda expressed a liking to the placement of the indent for the hands as was seen on one of the ideation sketches, because it resembled a smiling face. In the final product there shall also be a smiling face to spread some happiness after the user has fallen down.


Workshop
It is now time to make the product into an actual prototype.
The plan for the workshop was the following:
